First workspace and thread
This is the first real setup step that matters.
Sentinel gets much more useful once a workspace points at a real local project and the first thread is tied to it.
Add a workspace
A workspace is usually a local project folder.
When you add one, Sentinel can use that root path for repo context, terminal sessions, file access, worktrees, and thread-level project state. If the workspace has no useful local root, a lot of the deeper workflow stays out of the way because there is nothing real for it to operate on.
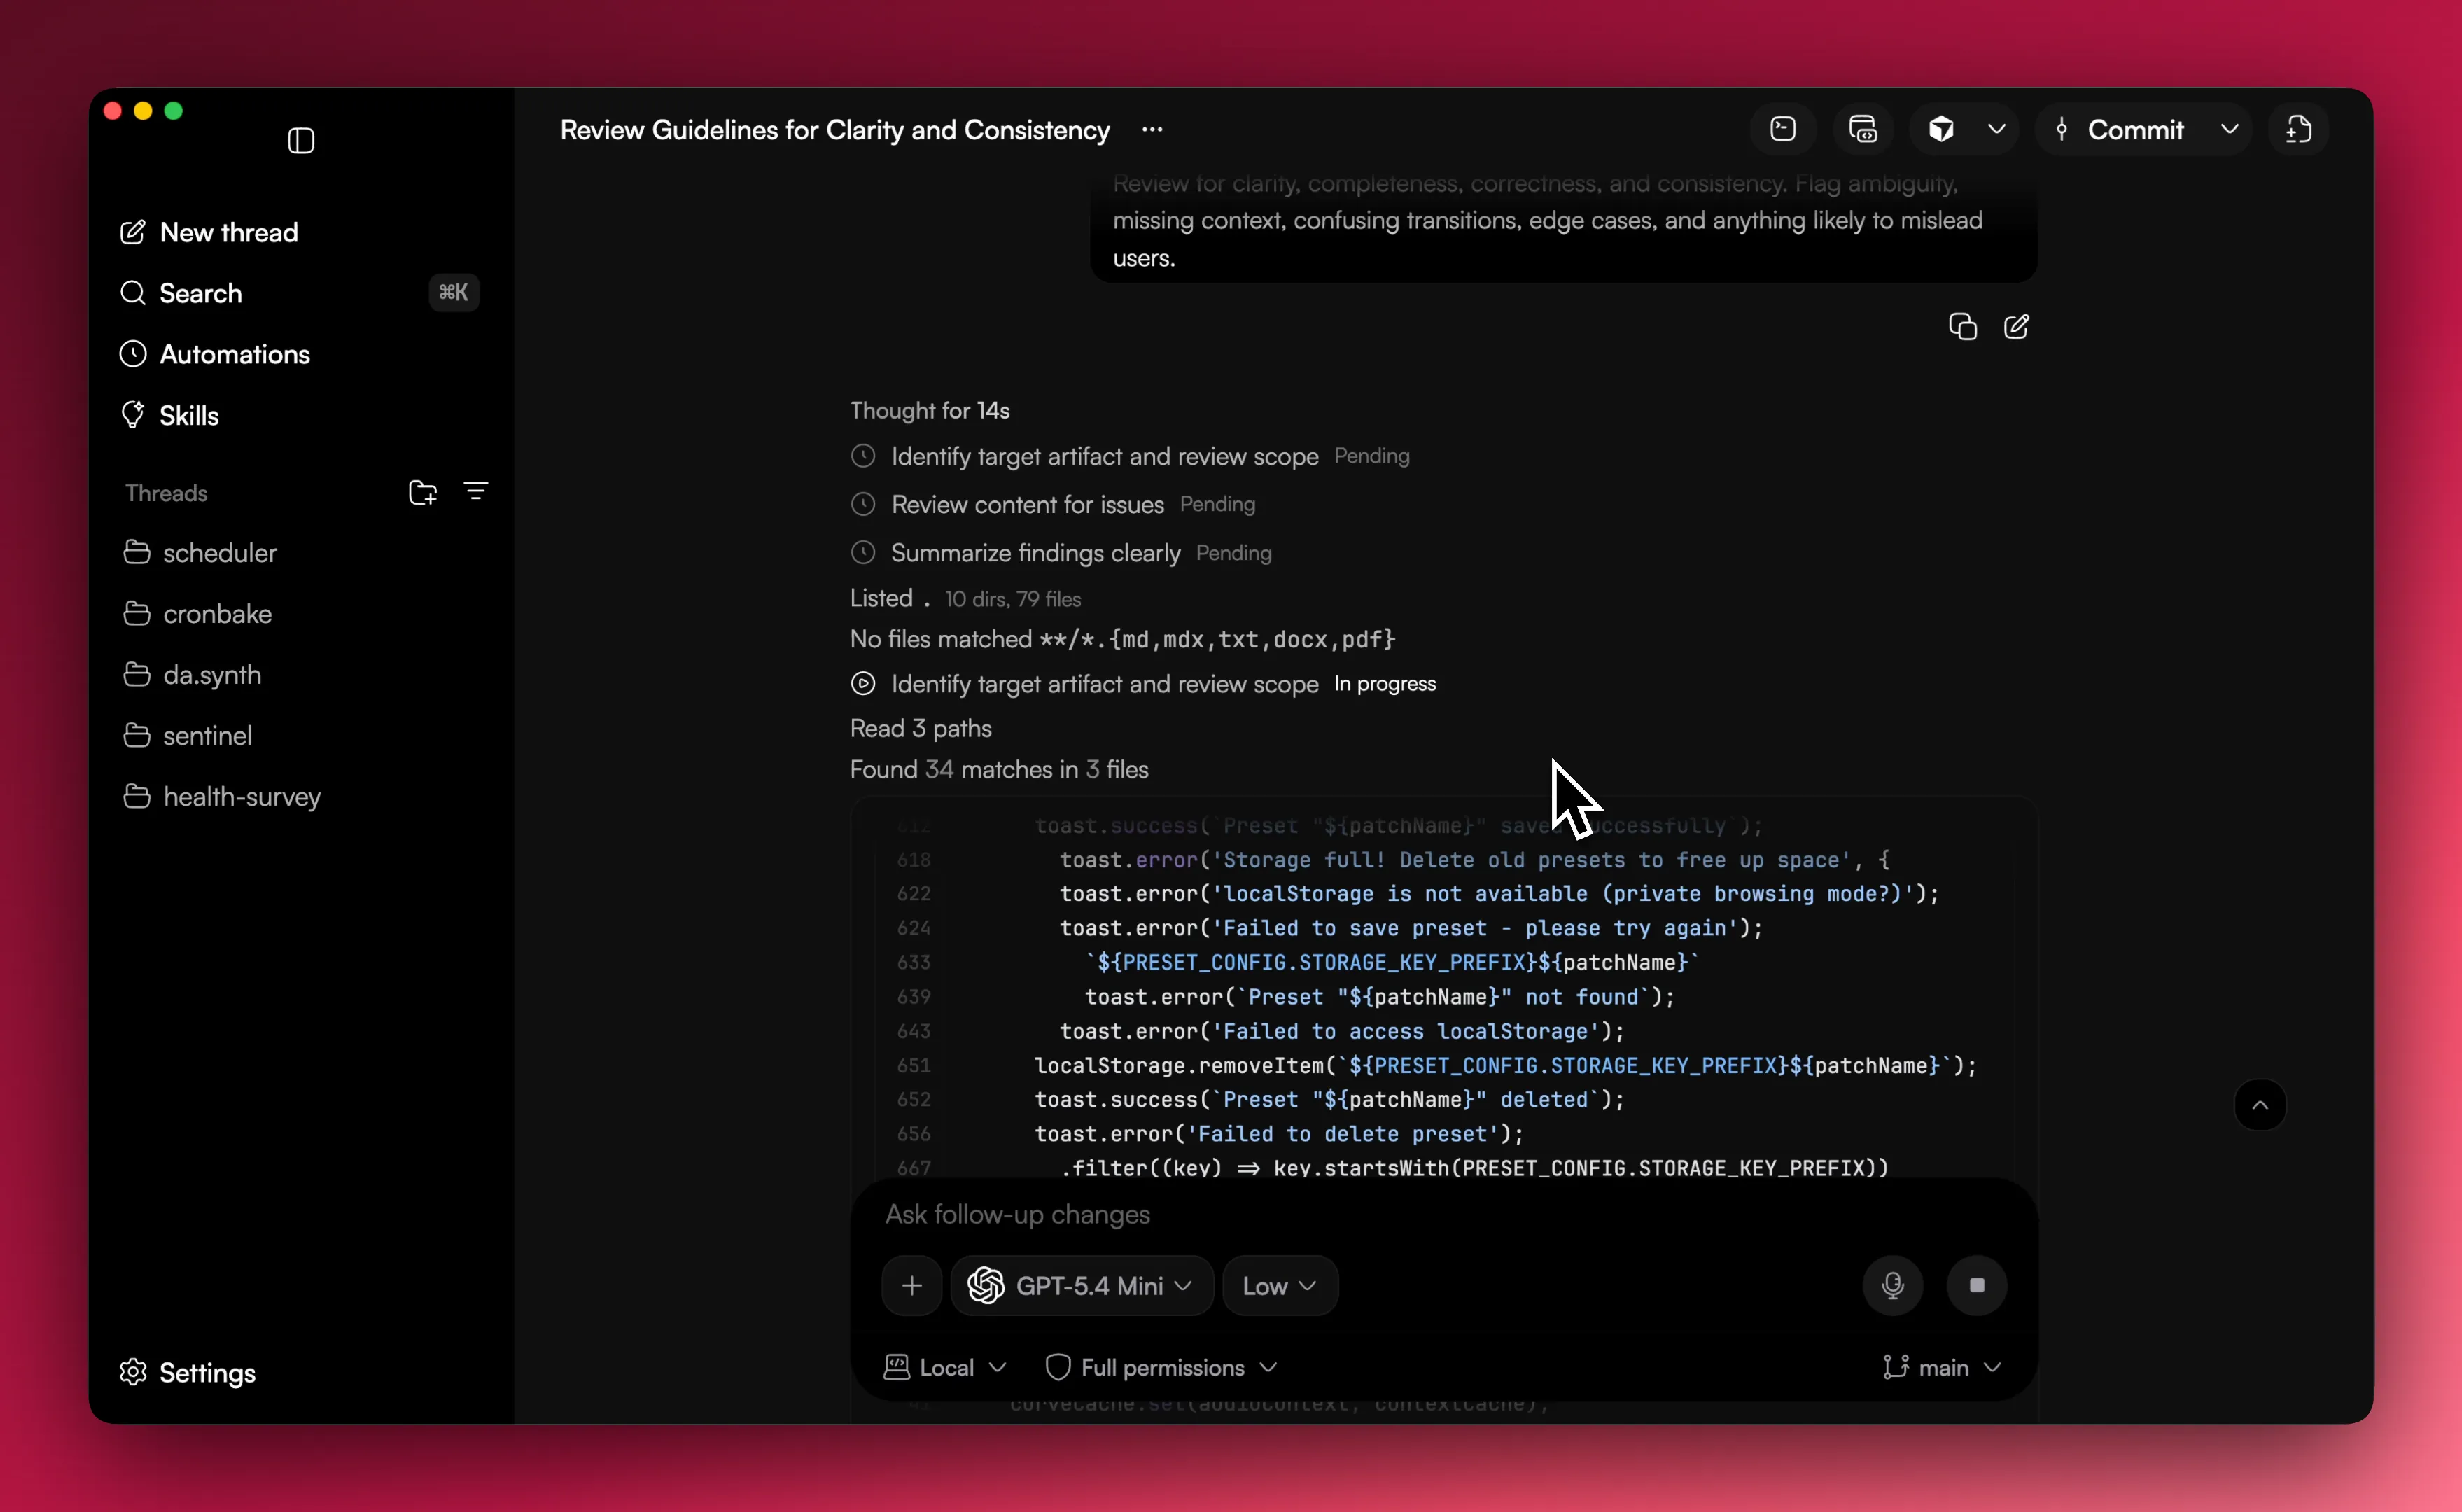
Start the first thread
The app opens into a draft thread flow.
Before the first message, you usually choose the workspace, engine, model, and mode. Once you send the first message, Sentinel saves the thread and moves you into the main thread screen.
Pick a good first task
The best first prompt is something small and concrete. Ask it to inspect the repo layout, explain one feature area, make a small code change, or plan a change before editing.
That gives you a quick feel for how the thread, terminal, and repo surfaces work together without throwing the app into a huge task straight away.
What to open next
After the first message, it helps to open the terminal panel, the repo diff sidebar, the model selector, and the settings pages for providers and models. That covers most of the app loop early.
Related pages
The next useful pages are Quickstart, Workspaces and threads, and Repo workflow.